Monster Book of Monsters
Homemade Monster Book of Monsters vary between the crafter. I think that they are awesome addition to your collection, and cost a fraction of the price of a store bought one. Here's my version of the Monster Book of Monsters...
Materials Needed:
-An old book (second hand stores are the best place to go)
-A faux leather purse strap (again, you can get them at second hand stores for about 2$)
-A large pack of brown coloured feathers
-White paper
-Googley Eyes
-Gold and Red paint
-Hot glue + Glue gun
1. Glue on your feathers in rows (see picture below). Once you have covered the cover of the book, just do the edge of the back.
2. Glue on the Googley Eyes (two larger one in the middle, two smaller on the sides), and paint in Gold, The Monster Book of Monsters, Along the front.
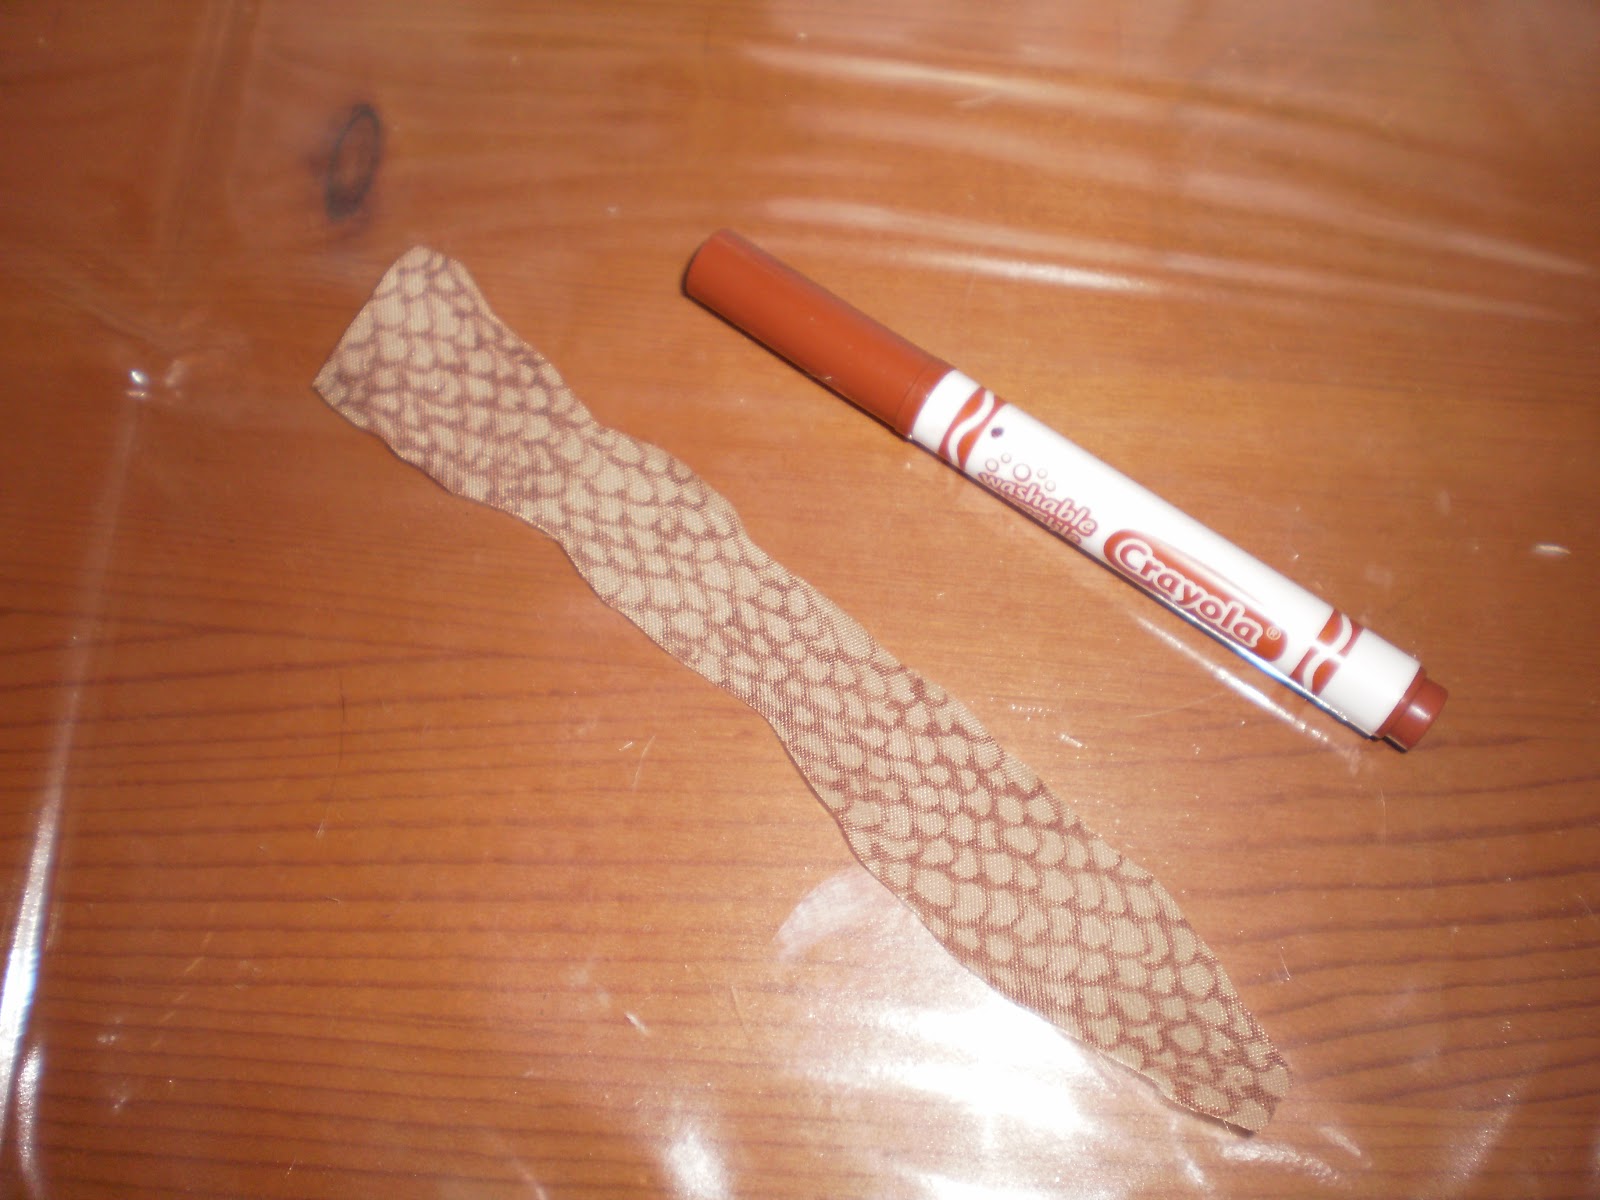
3. Glue a strip of the purse strap onto the spine of the book. You can also cover it in feathers, but i didn't have the time. On a smaller piece of the strap, Cut out a "V" shape out of one end. Paint Red. After that piece is dry, glue it into one page of the book.
4. Cut out as many teeth as you would like, and Glue them onto the pages. Voila!
If you find any defaults, improvements, or have any feedback, please leave a comment.
Sunday, 28 April 2013
Tuesday, 23 April 2013
Ink Bottles
Ink Bottles
I discovered these ink bottles from a lady on youtube. I thought that this was a cool addition for your Harry Potter Quills. I did use a different bottle than the original video, but if you would like to watch the original video on Youtube, go to http://www.youtube.com/watch?v=mSAVt1m3_vA.
Materials Needed:
-1 fanta pop bottle like the one in the picture below
-Black Paint
-White or beige cardstock paper
-A long strand of yarn (colour of your choice)
-Hot glue + Glue gun
-Black cardstock paper
-Black fine tipped Sharpie
-Rice
-X-acto knife
1. Throw out the cap of your bottle. Cut the top part of your Fanta pop bottle so that the circular part is the only part that remains.
You can put your Harry Potter Quill, into the bottle to make it look like a real ink bottle. DO NOT put real ink into this bottle, it is only for show. Please leave a comment, and give your feedback on our new look. THANKS!
I discovered these ink bottles from a lady on youtube. I thought that this was a cool addition for your Harry Potter Quills. I did use a different bottle than the original video, but if you would like to watch the original video on Youtube, go to http://www.youtube.com/watch?v=mSAVt1m3_vA.
Materials Needed:
-1 fanta pop bottle like the one in the picture below
-Black Paint
-White or beige cardstock paper
-A long strand of yarn (colour of your choice)
-Hot glue + Glue gun
-Black cardstock paper
-Black fine tipped Sharpie
-Rice
-X-acto knife
1. Throw out the cap of your bottle. Cut the top part of your Fanta pop bottle so that the circular part is the only part that remains.
2. Paint the remaining part black. Try to also paint the inside of the bottle. The paint looks a lot better when it dries this way.
3. Trace the bottom of your painted bottle on a piece of black cardstock. Cut it out, and glue your circle onto the bottom.
4. squeeze some hot glue into the "ink bottle". Pour some rice into the "ink bottle as well to give it weight. Let hot glue dry around the rice.
5. Cut out a strip/label out of a piece of white or beige cardstock. Write out INK onto the label ( I also added a production number to make it look more realistic. Glue the label onto the bottle.
6. Tie your yarn around the top part of the bottle like the picture below. You can skip this step if you want. I thought that the colour of the yarn could represent the colour of your "ink". Voila!
Tuesday, 16 April 2013
Silhouette Party Cards
I plan to use these cards as invitations for next Harry Potter party. I think that they are a cute touch for any occasion.
Materials Needed:
-X-acto knife
-Blank greeting cards
-Cardstock paper
-Tape
1. Cut out a template of your silhouette out of cardstock. I did mine just by looking t a picture, and cutting what i saw with my X-acto knife. You can also certainly just printout your picture, and trace the outside of it with your X-acto.
2. Tape you template in place onto the inside of your card. Unfortunately, on these ones I made a mistake, and did the picture so that it turns out upside down when you look at the front.
3. Cut out your Harry Potter shape with your X-acto knife, and take out the cut-out. Write a beautiful message inside, and voila!
if you have any feedback whatsoever, please leave a comment, I have just changed the settings so that anyone can comment, incase any of you without gmail accounts were having trouble.
Wednesday, 10 April 2013
Gillyweed
Gillyweed
Gillyweed is an awesome addition to your Harry Potter collection. It will also save Dobby a couple trips to Snape's office if needed. ;)
Materials Needed:
-Miniature Bottle with a cork(any shape, I found mine at the Dollar Tree)
-Green ribbon
-Water
-Light brown construction paper
-Dark brown Marker
-Super glue
-Packing tape
1. Put a long strand of ribbon into your bottle. Fill the bottle with water.
2. Super glue your cork in the top so that no water can leak.
3. Rip out a small label type of thing out of your construction paper. With a dark brown marker, write Gillyweed onto the label.
4. With some packing tape, tape on your label to the bottle, and voila!
Friday, 29 March 2013
Goblet of Fire Golden Egg
I've been looking for a while for a way to make one of these eggs. Hopefully you guys like it as much as I do.
Materials Needed:
-Any egg decoration like the one in the pictures below (I got mine at the Dollar Store during Easter time)
-Gold paint
-Clay (air dry recommended) colour does not matter
-Hot glue + Glue gun
1. Give your egg one quick coat of gold paint. Let dry.
2. Mold six leaves (make three of them thinner than the others) and one circle. Place them on the top of the egg like the picture below, and let dry. You will probably need to hot glue it in place once it has dried.
3. Give the egg another quick coat of gold paint. This time, paint over your newly attached topper. Let dry.
4. With your hot glue gun, create the design below. In the picture below, you have to imagine like the egg is flattened.
5. Give your egg some more coats of gold paint and voila!
If you have any feedback please leave a comment.
Wednesday, 20 March 2013
Mandrake Elixir and Boomslang Skin
Mandrake Elixir and Boomslang Skin are two often used potion ingredients used in the Wizarding World of Harry Potter. In this post, I will show you how to make these simple additions to your collection.
Materials Needed:
-2 clean glass bottles (I used some of my old calligraphy bottles)
-Homemade, printed, or bought Boomslang Skin label
-Homemade, printed, or bought Mandrake Elixir label
-Hot glue + Glue gun
-Water
-Green food colouring
-1 Strip of Fabric (colour of your choice)
-Brown Crayola Marker
-Scissors
1. Glue on your Labels to the bottles (my labels were stickers, so no need for that). Set aside.
2. Draw a snake skin pattern on your fabric with your Crayola marker. Cut around your pattern (see picture below).
3. Cut the Fabric into 2, and place inside your bottle.
4. Open up your Mandrake Elixir bottle. Fill half of the bottle with water, and add food colouring drops until the desired green, and voila!
Please leave a comment.
Sunday, 17 March 2013
Wizarding Wand Stands
You're going to have to twist your head to see this one properly, unfortunately, I took it in portrait style, but the computer won't turn it. |
These wand stands are perfect for saving space in your Harry Potter collection. You can add as many holes as you would like in your's, but make sure you get a longer "stick".
Materials Needed:
-2 wooden "sticks" (see pictures) with the height of your choice
-2 wooden dowels (like the ones you used for the Wizarding Wands)
-Dark brown spray paint or wood stain
-Drill
-30 hooks (see picture below)
-Super Glue
1. Spray paint or Stain all of your wood pieces brown. Let dry.
2. Make sure that both your dowels are the same length. If so, place them about three inches down from each end of the "sticks" (see picture above and below). Once placed, super glue them in place.
3. Drill 15 tiny holes into each "stick", so that it is easier to screw the hooks in. Once you have drilled the holes, screw a hook into each hole, and voila!
I nailed mine into the wall, and then hung my wands on it (see picture at the top).
Honeyduke Candy Jars
I thought of these when I was in my local Dollarama, and saw these awesome jars. They would be perfect for any Harry Potter occasion.
Materials Needed:
-Glass jars of your choice
-Coloured construction paper
-Printed out Honeyduke labels
-Printed out candy labels of your choice
-Hot glue + Glue gun
1. Cut out any labels that you have.
2. If your jar has a round lid, trace the lid on your construction paper, and cut out. if you do not want the label to be on the lid of your glass jar, cut out a large rectangle of construction paper. Glue on your construction paper label base.
3. Glue on the written label on to your construction paper label base (look at pictures below an above). Then, glue on a Honeyduke label on the spot of our choice so that it looks like it came right of of the candy shop, and voila!
Place some candy that resembles the Harry Potter version in the jar, and serve at your party.
Honeyduke Cupcake Toppers
I was looking online to find some sort of cupcake topper for my birthday, and i found a picture featuring these. Yes, they are not my idea, and I do not own the rights to them, but I thought I might show you how to make them.
Materials Needed:
-Pink pompoms
-White paper lollipop sticks
-Printed out Honeyduke labels
-Hot glue + Glue gun
1. Cut out a Honeyduke label. Put a line of hot glue down the middle of the label. Glue the Label in the middle of your lollipop stick.
2. Put a glob of hot glue on the end of a pompom. Stick the top end of your lollipop stick in the glue and let dry. Stick them in your cupcakes and voila!
If you have any suggestions for upcoming crafts, please leave a comment.
Wednesday, 13 March 2013
Quills
Quills
I found these quills on dadcando.com, they are cool print outs that you can add to your collection.
Materials Needed
-Dadcando quill print out (search it up on google for a free print out)
-Crochet needle
-Calligraphy metal end bit
-Hot glue + Glue gun
1. Print out the Dadcando quill print out if you have not already. Cut out the quill part, and pre fold it in half. bend your crochet needle so that it follows the spine of the feather.
2. Glue on the crochet needle to one half of the feather, make sure you leave a bit of the needle sticking out so that you can attach the calligraphy end.
3. Cover one half of the quill in hot glue, and refold the paper to stick both sides together.
4. Glue the calligraphy end like below.
5. Cut the little slits to make it look more like a feather, an voila!
This craft belong to dadcando.com, but I added my own little twist to it. Please leave a comment!
Skiving Snackbox
Skiving Snackbox
Unfortunately, when I made this Skiving Snackbox, I did not take any precise pictures. So, this instructory may be a bit difficult, and I am not sure if it will make much sense. But then again, I made mine just by looking a a picture... So I think you will get the basic idea.
Materials Needed
-A large cube shaped cereal box
-Lots of spare cardboard from old cereal boxes
-A printer
-Orange, Blue, Green, Purple, Red, PInk, Yellow and Turquoise paint
-Hot glue + Glue gun
-Scissors
1. Cut the box open so that it looks like the picture below.
2. Paint one of the sides completely orange. Once dry, paint the Weasley logo in pink on each section.
5. Print out labels for each of the candies, and glue them on like the picture above. Finally paint on the Skiving Snackbox label like the picture below.
6. Let everything dry, and voila!
You can add tissue paper to each box, and make your own Skiving Snackbox snacks to add that extra touch.
Unfortunately, when I made this Skiving Snackbox, I did not take any precise pictures. So, this instructory may be a bit difficult, and I am not sure if it will make much sense. But then again, I made mine just by looking a a picture... So I think you will get the basic idea.
Materials Needed
-A large cube shaped cereal box
-Lots of spare cardboard from old cereal boxes
-A printer
-Orange, Blue, Green, Purple, Red, PInk, Yellow and Turquoise paint
-Hot glue + Glue gun
-Scissors
1. Cut the box open so that it looks like the picture below.
2,3,4
5
6
3. Flip the side that you have not painted up. Following the numbers beside the box template, paint square number 1 orange, square number 2 turquoise on the top half orange on the bottom half, square 3 purple, square 4 blue on the top half turquoise on the bottom half, square 5 yellow, and finally square 6 green. Follow the pictures above and below if you have trouble with the colours. Set aside and let dry.
4. Mesure your box, and cut out five pieces for all four of the boxes to hold the snacks. Paint one side of each of the pieces yellow, and let dry. Glue together the pieces to make a box with no lid. After all the boxes are dry, glue them to the painted box so that it looks like the picture below. (ignore anything else that is there that you have not been told to do yet)
6. Let everything dry, and voila!
You can add tissue paper to each box, and make your own Skiving Snackbox snacks to add that extra touch.
Thursday, 7 March 2013
Floating Candles
These floating candles are a perfect decoration to hang up in your room. They are simple to make, and I have even seen a couple seven year olds accomplish this craft.
Materials Needed:
-Three paper towel rolls
-Three strips of cardboard (from a cereal box)
-White spray paint
-A long stick of wood (see bottom picture)
-Silver spray paint
-Hot glue + Glue gun
-Fishing line
-Drill
-Electric tea lights
1. Drill three holes in your stick of wood, then, spray paint it silver. Set aside and dry.
2. Ooze, and drip hot glue down from the top of your three paper towel rolls, to make it look like an old, used candle. Once the glue has dried, glue in a strip of cardboard into each roll so that the tea lights will stay up (see picture below).
3. Spray paint your candles white. Let dry.
4. Thread a long piece of fishing line through one of the drilled holes of your stick. Adjust your line so that it is your wanted length, then glue each end of the fishing line to the inside of the candle so that it hangs from the stick. Repeat with each of the drilled holes and candles.
5. Place your electric tea lights into the top of each candle, and voila!
if you have any complaints, or feedback about this post, or any other, please leave a comment.
MadEye Moody Eye
MadEye Moody Eye
MadEye Moody Eyes usually get a good reaction from guests when they see it. this is a pretty simple, fun idea that I got from a lady on Youtube. Just go to http://www.youtube.com/watch?v=ukSJ9_Es6H8 to see the original video, but i will give you a quick summary here if you would like.
Materials Needed:
-A leather purse with long straps (second hand shops are a place place to get these)
-A bottle cap
-A plastic ball (the video calls for a ping pong ball, but i just used a Squinkies container from my little sister)(I have also heard that you can find a fake plastic eye with the iris already painted on at ebay)
-White paint
-Blue paint
-Gold paint
-Hot glue + Glue gun
-Scissors/X-acto knife
1. On a piece of the leather purse, trace you bottle cap. Cut off a decent length of the strap of the purse. Place each end of the strap by the edge of your circle so that it would be quarter to three on a clock. Place the bottle cap in it's original position, and trace the straps, and where the straps meet the bottle cap. Remove the straps and bottle cap.
2. Cut out the outline that you have traced of the bottle cap and straps, and trim the ends of the strap, so that it matches the line you traced from the bottle cap. Set aside.
3. With some scissors or an X-acto knife, cut out a fairly large circle out of the cap. Paint the remaining cap gold. Grab your plastic ball, and give it a quick coat of white paint. then paint on the iris and pupil in the style and direction of your choice. (if you have a plastic eye with the iris and all on it already, then skip painting the ball).
4. Grab your "eye", and place it in the back of the cap. When you get it in the right position, hot glue it in place. Glue the cap and eye onto the recently cut piece of leather. Try to fit it into the "circle" part of the cut out. Now, glue the straps into the outlines that you traced, and voila!
I am sorry that my description is not so easy to follow, again, if you watch the original video, it is a little easier to understand.
MadEye Moody Eyes usually get a good reaction from guests when they see it. this is a pretty simple, fun idea that I got from a lady on Youtube. Just go to http://www.youtube.com/watch?v=ukSJ9_Es6H8 to see the original video, but i will give you a quick summary here if you would like.
Materials Needed:
-A leather purse with long straps (second hand shops are a place place to get these)
-A bottle cap
-A plastic ball (the video calls for a ping pong ball, but i just used a Squinkies container from my little sister)(I have also heard that you can find a fake plastic eye with the iris already painted on at ebay)
-White paint
-Blue paint
-Gold paint
-Hot glue + Glue gun
-Scissors/X-acto knife
1. On a piece of the leather purse, trace you bottle cap. Cut off a decent length of the strap of the purse. Place each end of the strap by the edge of your circle so that it would be quarter to three on a clock. Place the bottle cap in it's original position, and trace the straps, and where the straps meet the bottle cap. Remove the straps and bottle cap.
2. Cut out the outline that you have traced of the bottle cap and straps, and trim the ends of the strap, so that it matches the line you traced from the bottle cap. Set aside.
3. With some scissors or an X-acto knife, cut out a fairly large circle out of the cap. Paint the remaining cap gold. Grab your plastic ball, and give it a quick coat of white paint. then paint on the iris and pupil in the style and direction of your choice. (if you have a plastic eye with the iris and all on it already, then skip painting the ball).
4. Grab your "eye", and place it in the back of the cap. When you get it in the right position, hot glue it in place. Glue the cap and eye onto the recently cut piece of leather. Try to fit it into the "circle" part of the cut out. Now, glue the straps into the outlines that you traced, and voila!
Wednesday, 6 March 2013
Horcrux Locket Note
Horcrux Locket Note
I have recently purchased a Horcrux Locket from Chapters. I love it! But unfortunately it does not come with a note. The rights to these sites and videos, belong to the original owners, but i would like to show you them.
1. Go to the link for the Horcrux note by clicking these underlined words
2. Print out the note in a small size (this may take a couple tries to get it right). I also find that in the video that i am about to show you, it calls for the note to be exactly a square. So, I adjusted it on Microsoft Word to do so.
3. Go to http://www.youtube.com/watch?v=BEsQAyx7TFc and watch to learn how to fold the note, or just simply watch the video below.
If you buy the locket from Chapters, it completes the project.
Voila!
If you have any problems or feedback about this post, or any other posts, please comment.
Wizarding Wands
Wizarding Wands
Wands are a popular item that any Harry Potter fan must have. But buying them online can be expensive! These wands are simple, and customizable, so enjoy!
Materials needed:
-Wooden dowels (pick the size that you think is best)
-Hot glue + Glue gun
-Spray paint or acrylic bottled paint (the colour you think is best)
-Any other decos you think you might need (I just used plastic jewels)
1. With your Hot glue gun, make the design of your choice. Experiment with several dowels before making your good one, for techniques may vary. Let dry.
2. Stick any other decos you want on. I stuck plastic jewels on the end, just to add that touch.
3. Spray paint or paint the wand with several layers to make the colour more profound. Again, experiment with many layering and painting techniques. Let dry, and voila!
If you find any errors or improvements, please
comment.
Wands are a popular item that any Harry Potter fan must have. But buying them online can be expensive! These wands are simple, and customizable, so enjoy!
Materials needed:
-Wooden dowels (pick the size that you think is best)
-Hot glue + Glue gun
-Spray paint or acrylic bottled paint (the colour you think is best)
-Any other decos you think you might need (I just used plastic jewels)
1. With your Hot glue gun, make the design of your choice. Experiment with several dowels before making your good one, for techniques may vary. Let dry.
2. Stick any other decos you want on. I stuck plastic jewels on the end, just to add that touch.
3. Spray paint or paint the wand with several layers to make the colour more profound. Again, experiment with many layering and painting techniques. Let dry, and voila!
These are all the wands from the new Harry Potter Spells app |
If you find any errors or improvements, please
comment.
Subscribe to:
Posts (Atom)